Neutral Sans Workhorse
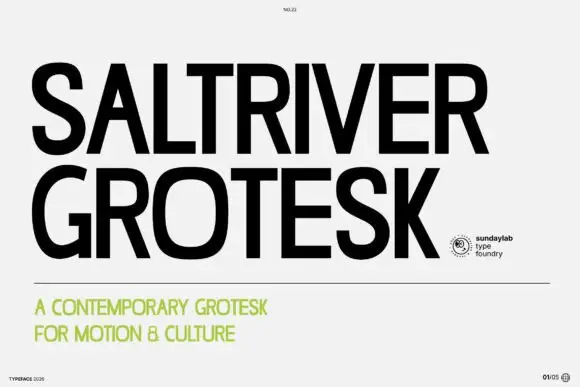
Dino Cirus + Saltriver Grotesk
Lets Dino Cirus own the focal silhouette while handling secondary copy, sizing and subheads cleanly.
Inspect Saltriver Grotesk specimenDisclosure: MakerFileHub may earn a commission from qualifying purchases via paid links on this page. How our links work.
Hollow broad capitals with triangular spines and small solid spot clusters
Dino Cirus displays multicoloured outlined capitals in two rows, where small triangular spines project from the upper and side edges, solid spot clusters follow the inner curves and the hollow bodies keep a broad friendly silhouette across both rows.
Paid link
Get this fontProject & layout blueprintsAt-a-glance maker compatibility
Sturdy stroke walls and open counters weed cleanly on adhesive vinyl, HTV apparel film, and cut cardstock.
Visual anatomy & craft review
The bodies stay hollow and broad, the spines break the outline, the spots sit inside the bowls and the colour changes per letter. That spine is the character: the word reads as a friendly dinosaur crest rather than a plain outline font, which is why the sample keeps two rows on a bright ground. Confirm the spike and spot mapping and whether colour effects are supplied, keep 40 pt before the spots merge and check the smallest spines in a proof.
Hollow broad capitals with triangular spines and small solid spot clusters
Two-font hierarchy recipes
Tested contrast partners — pairing Dino Cirus with grounded secondary typography.
Dino Cirus + Saltriver Grotesk
Lets Dino Cirus own the focal silhouette while handling secondary copy, sizing and subheads cleanly.
Inspect Saltriver Grotesk specimen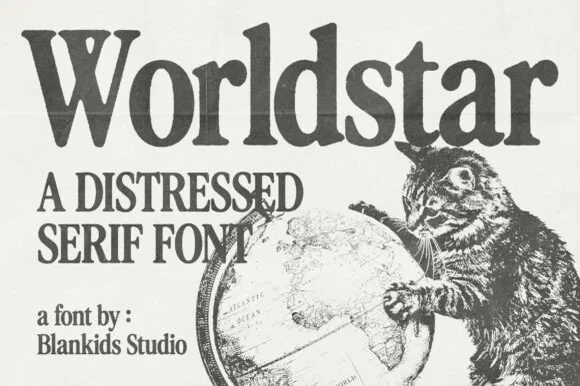
Dino Cirus + Worldstar
Grounds bold display lettering with classic typographic authority on posters, badges and apparel.
Inspect Worldstar specimenPractical applications
Concrete hierarchy, scale and production guidance tailored to Dino Cirus’s stroke geometry.
The playful hollow caps suit a child's card, and the broad bodies hold a name at 34 pt on an A6 sheet, where the spines stay distinct at reading size.
Hierarchy & layout recipe
Print an A6 card: set the name at 34 pt on one row, keep 16 mm of clear ground beneath before the details at 11 pt, and keep the colour on the outline only so the hollow body stays light.
Pre-production check
Spines under 2 mm read as damage; check the card proof and keep the name at 30 pt or above.
The friendly forms read across a room, and the hollow bodies hold a first name at 50 mm on a laminated panel, where the spot clusters stay visible at a distance.
Hierarchy & layout recipe
Laminate a 400 by 250 mm panel: set the name at 50 mm on one row, keep 20 mm of clear ground beneath before the smaller line at 14 pt, and keep 20 mm of margin so the spines are not trimmed.
Pre-production check
Cut spines chip along a laminate edge; check the trimmed sample and keep 18 mm of clear margin all round the panel.
The hollow caps give a tag character, and the outline holds a short name at 24 pt on a 40 by 70 mm tag, where the spots fit inside the narrow body.
Hierarchy & layout recipe
Print a 40 by 70 mm tag: set the name at 24 pt on one row, keep 10 mm of clear ground beneath for the lower spines, and keep 6 mm to the punch hole so the tag holds.
Pre-production check
Spot clusters may need a separate colour file; check the listing before planning two inks.
Technical & licence verification
Confirm included OTF/TTF/WOFF formats, full glyph tables and licence coverage on the live store page before batch production.
Closest visual alternatives
Matched across letterform anatomy, stroke behaviour and craft applications.
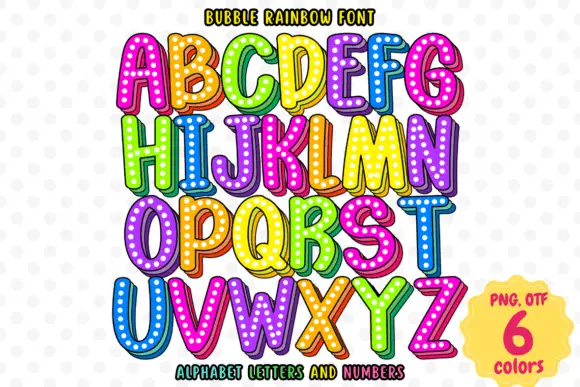
Bright rounded capitals with dotted faces and shaded offset edges
Bubble Rainbow sets fat rounded letters with a heavy outline, a white inline and a grid of pale dots across the fill, supplied in six bright colourways across letters and numerals.
Ideas for this font
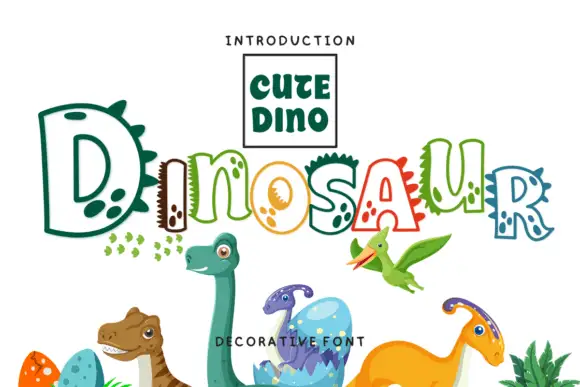
Hollow irregular mixed case with dinosaur-like spikes and rounded footprint-like spots
Dinosaur draws hollow letters with an unsteady hand, gives several of them spikes along the top and fills the neighbours with round footprint spots, so a word looks assembled by a child who likes big reptiles.
Ideas for this font
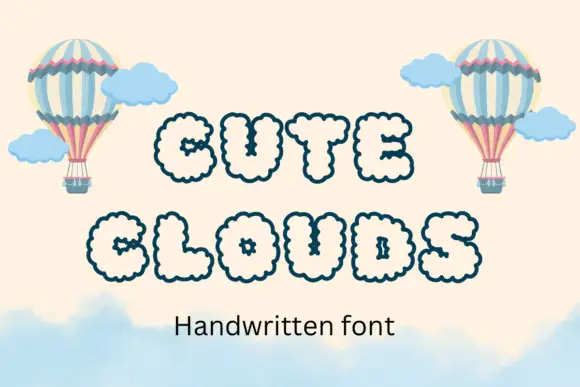
Puffy outlined capitals with repeated small scallops around outer edges and counters
Cute Clouds draws every capital as a puffy cloud with scalloped edges and a hand-dotted outline, set in a soft cream on a pale sky with hot-air balloons.
Ideas for this font
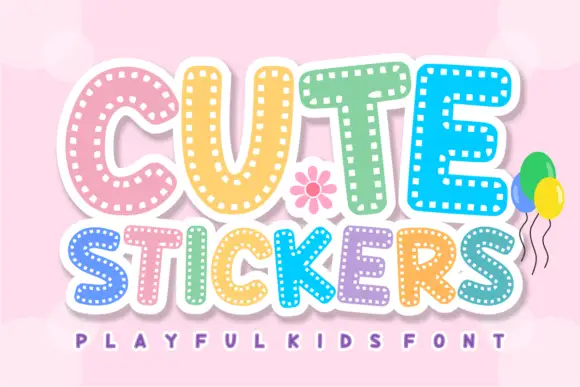
Dashed-inset sticker capitals
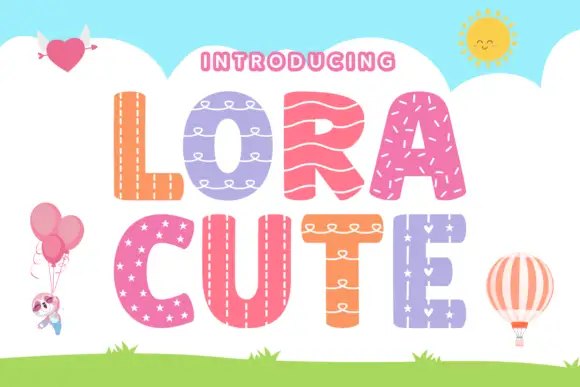
Cute Stickers shows thick rounded capitals with short white dash marks following the inner contours. The C curves broadly, the T carries a soft wide top, the strokes stay even and heavy, and the smaller line beneath repeats the same dashed decoration.
Ideas for this font
Same independent foundry
Allow optional Google Analytics to measure visits and catalogue actions. Your search words and notes are not included. Privacy & storage